What Are Nano Brows, Exactly? A Clear Answer
Last Updated: October 26, 2026
Quick Summary
Nano brows are a permanent makeup technique that uses a digital machine with ultra-fine needles to implant pigment into the brow area, creating crisp, individual hair strokes that mimic natural brow hair. Unlike older methods that can leave a solid, blocky look, this approach builds soft strokes one at a time for a lifelike finish.
- A digital machine lets the artist adjust speed and needle depth for even pigment and low skin trauma.
- Most appointments run in two parts: a consultation and mapping session, then the treatment itself.
- Machine work tends to suit more skin types, including oilier skin where blade strokes can blur.
- Most nano brows hold their shape for roughly one to three years before a refresh is needed.
- Plan your appointment at least two weeks before a big event so your brows have time to settle.
Table of Contents
- Nano Brows Explained: Fine Hair Strokes, Drawn by Machine
- What Happens During a Nano Brows Appointment
- Nano Brows vs Microblading: What Actually Differs
- The Nano Brows Healing Process, Stage by Stage
- Nano Brows Aftercare: What to Do in the First Two Weeks
- How Long Do Nano Brows Last, and What Affects Fading?
- Who Nano Brows Suit, and When to Talk to a Clinician First
- Choosing an Artist and Booking a Consultation
- Frequently Asked Questions
Nano Brows Explained: Fine Hair Strokes, Drawn by Machine
This guide from Wink Ink Studios breaks down exactly what happens in the chair, how healing unfolds, and how to tell if nano brows are right for you.
Here is the short answer most people want first: nano brows are cosmetic tattooing for your eyebrows.
Why does the machine matter so much? Because control matters. A digital device lets the artist adjust speed and needle depth, which helps pigment land evenly and keeps skin trauma low.
Health Canada guidance on cosmetic tattooing safety
Why They Look Like Real Brow Hair
Real brows are not a solid block of color. They are thousands of tiny hairs, each one slightly different in direction and shade.
Nano brows copy that pattern. The artist draws strokes that follow your natural growth direction, so the brow reads as hair rather than ink.
The result is what most clients describe as a "your brows but better" look. No marker effect. No heavy outline.
What Happens During a Nano Brows Appointment
Most appointments run in two parts: a consultation and mapping session, then the treatment itself. Expect to set aside a couple of hours for the full visit, including setup and aftercare instructions. That sounds like a lot for a pair of eyebrows, but the time is mostly conversation and prep, the actual tattooing is a smaller slice than people expect.
Consultation and Brow Mapping
Every good appointment starts with a conversation, not a needle. The artist looks at your face shape, natural brow density, and skin, then maps a shape with you before any pigment goes in.
This is where you speak up. Want softer? More arch? Less length? Say it now. Mapping is the easiest stage to adjust, and a good artist will happily redraw until it feels right.
The Treatment Itself, Step by Step
Here is the general flow, so there are no surprises:
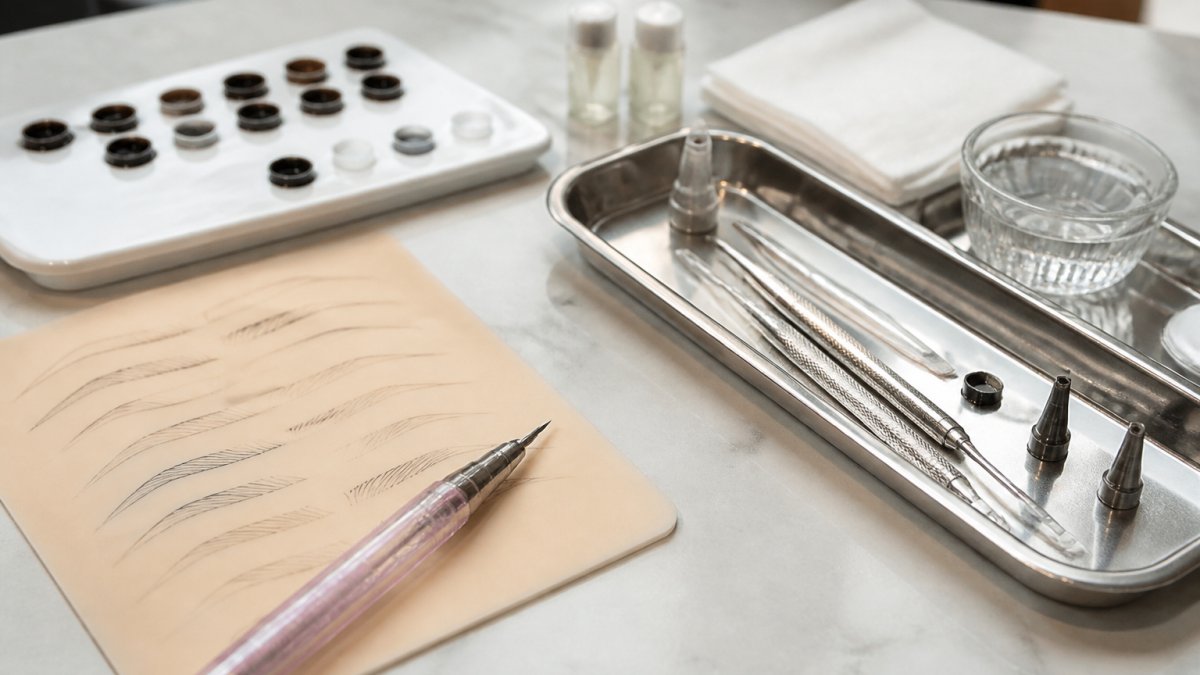
- Numbing and prep. Numbing cream goes on first and sits for a while. Then the area is cleaned and prepped, and the artist sets up sterile, single-use needles and pigment cups in front of you.
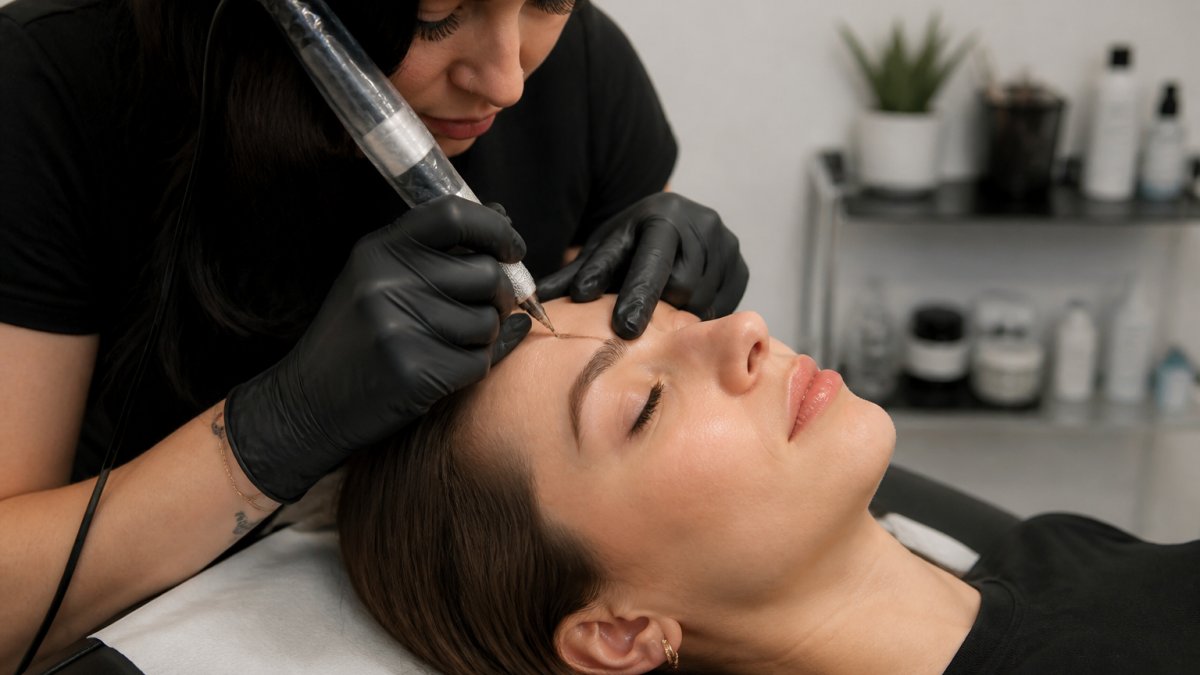
- First pass. The artist builds hair strokes in thin layers, checking symmetry as they go. Most people describe the sensation as light scratching or a vibration rather than pain.
- Wipe and review. Pigment is wiped and reviewed between passes. This is where the artist checks how the skin is taking color and adjusts pressure or pigment.
- Second pass and detail. A second pass fills gaps and sharpens strokes. The artist may ask you to open and close your eyes, or sit up, so they can check the brows from a normal viewing distance.
Discomfort is usually described as light scratching. Most people tolerate it well, and the numbing step helps. If you are nervous, tell the artist, they have talked plenty of first-timers through it.
What to Bring and How to Prepare
A little prep makes the appointment smoother. Arrive with clean skin and no brow makeup, and avoid alcohol or blood-thinning painkillers for a day or two beforehand if your artist advises it.
Bring a list of any medications or skin conditions you want to discuss. It is not overkill; it is the kind of detail that separates a careful artist from a rushed one.
Nano Brows vs Microblading: What Actually Differs
The core difference is the tool. Microblading uses a handheld blade to create shallow cuts. Nano brows use a digital machine with fine needles.
Machine work tends to suit more skin types, including oilier skin where blade strokes can blur over time.
Worried about uneven results from previous work? There is a practical read on how to fix uneven permanent brows that walks through correction options.
| Feature | Nano Brows | Microblading |
|---|---|---|
| Tool | Digital machine, fine needles | Handheld blade |
| Stroke style | Crisp, fine hair strokes | Fine but shallower cuts |
| Skin suitability | Most skin types, including oily | Best on dry, normal skin |
| Healing feel | Light scabbing, minimal trauma | Can be more textured |
| Longevity | Fades gradually, touch-ups needed | Fades, sometimes patchier |
The Nano Brows Healing Process, Stage by Stage
Healing follows a fairly predictable path. Knowing the stages helps you stop panicking at the mirror on day four. Here is the honest version, week by week.
Days 1-2: Fresh and Dark
Your brows will look darker, sharper, and more defined than the final result. This is normal, pigment sits on top of the skin at first. Some people love this stage and wish it would last.
Mild redness or tenderness around the brow area is common and usually settles within a day or two. Keep the area clean and follow your artist's aftercare instructions.
Days 3-7: Flaking and the "Patchy" Phase
Light flaking and itching begins, and pigment looks patchy as the top layer of skin sheds. Do not pick. Picking is the fastest way to pull pigment out early and end up with gaps that need fixing at the touch-up.
A common pattern is that one brow flakes faster than the other. That is normal and not a sign anything went wrong.
Weeks 1-2: Color Softens and Settles
Color softens and settles, and strokes become visible again. This is the stage where people often say their brows "disappeared", they have not. Pigment is settling under the skin, and the color returns as healing finishes. Give it time before you judge the result.
Weeks 4-6: Touch-Up Time
A touch-up appointment refines shape and fills gaps. Most artists schedule this around the four-to-six week mark, once the skin has fully healed. This is also your chance to ask for small adjustments, a slightly softer tail, a touch more density, while the artist still has room to work.
What Can Slow Healing Down
Healing is not just about time; it is about conditions. Smoking, poor sleep, and skipping aftercare can slow the process. So can sun exposure and picking. If you have a big event coming up, plan your appointment at least two weeks out so your brows have time to settle.
Nano Brows Aftercare: What to Do in the First Two Weeks
Aftercare decides a lot about pigment retention. Keep the area clean, avoid heavy sweating, and skip makeup on the brows until the artist clears you.
Here is a simple checklist for the first two weeks:
- Gently cleanse the brow area as instructed, then pat dry
- Apply the recommended aftercare balm thinly, not heavily
- Avoid saunas, steam rooms, and long hot showers
- Skip intense workouts that cause heavy sweating
- Keep brows out of direct sun and skip tanning beds
Detailed healing and aftercare guidance for permanent makeup is available on the permanent makeup aftercare page, which covers lashes, brows, and PMU in one place.
Watch out: picking at flaking pigment is the fastest way to lose strokes and end up with patchy spots.
How Long Do Nano Brows Last, and What Affects Fading?
Most nano brows hold their shape for roughly one to three years before a refresh is needed. The exact timeline depends on your skin, lifestyle, and how well you follow aftercare.
Fading is not a flaw. It is part of how cosmetic tattooing works. Sun exposure, oily skin, exfoliation, and certain skincare ingredients all speed up the process.
Plan on a touch-up at the four-to-six week mark, then periodic refreshes later. Think of it as maintenance, not a one-and-done purchase.
Who Nano Brows Suit, and When to Talk to a Clinician First
Nano brows suit many people, especially anyone with sparse brows, uneven density, or a desire to skip daily brow makeup.
Sensitive skin is not an automatic no, but it deserves a conversation.
If you are pregnant, nursing, on certain medications, or managing a health condition, check with a clinician before booking.
Curious whether you qualify? Review the permanent makeup eligibility page before booking so you know what to expect.
Choosing an Artist and Booking a Consultation
The artist matters more than the technique name. A skilled technician with a machine will outperform a careless one with the trendiest tool every time.
Look for certification, a clean and sanitary studio, and a portfolio of healed results, not just fresh photos.
At Wink Ink Studios, Valerie is a certified permanent makeup and lash artist who maps each brow to the client's face shape, skin tone, and lifestyle.
Ready to talk it through? Contact Wink Ink Studios to ask questions and book a consultation. You can also explore the full brow services menu to see how nano brows fit alongside ombré powder brows and combo brows.
Frequently Asked Questions
How are nano brows different from microblading?
Microblading uses a manual blade to press pigment into the skin in hair-like cuts, while nano brows use a digital machine with fine needles to place pigment. The machine approach tends to cause less skin trauma and works well on oily or sensitive skin where a blade can blur. Nano brows also let the artist build soft, layered strokes that mimic real brow density, which is why the results read as natural rather than drawn on.
How long do nano brows last?
Most people get 1 to 3 years from a set of nano brows before a refresh is needed. Fading depends on your skin type, how much sun exposure you get, your skincare routine, and how well you follow nano brows aftercare. Oily skin and regular use of exfoliating acids speed up fading. A touch-up session a few weeks after the first appointment helps lock in pigment retention and even out the color.
Are nano brows suitable for sensitive or oily skin?
Nano brows are often a good fit for sensitive and oily skin because the machine technique causes less trauma than a manual blade. That said, sensitive skin still needs a patch test and a conversation about allergies before treatment. If you have a skin condition like eczema or psoriasis near the brow area, or you're prone to infections, check with a clinician first. A certified artist will assess your skin during consultation and adjust the approach.
What do nano brows look like after healing?
Right after treatment, brows look darker and more defined than the final result. Over the nano brows healing process, pigment softens and the strokes blend into your natural brow hair. By around week four, healed nano brows look like fuller, well-groomed brows with individual hair strokes visible up close. The color settles a shade or two lighter than day one, which is why artists slightly overbuild the initial intensity.
Nano brows are not a decision to rush, and they should not be a mystery either. The best outcomes come from a clear consultation, an artist who listens, and aftercare you actually follow. Wink Ink Studios pairs certified technique with a personalized mapping process, strict sanitation, and honest guidance at every step. Get started with Wink Ink Studios and walk out with brows that look like yours, only better.